Learn go series: Part V - Testing and API documentation
This is Part 5 of "Learn go" series. Probably the last in this series. You can find the previous post here.
This post picks up from the previous posts Part I, Part II, Part III and, PartIV , so if you haven't read, please skim through it.
#Introduction
Sometimes writing test cases in a new language can be intimidating. This post focuses on writing readable BDD style (for those familiar with Rspec, already know what I am talking about) tests instead of xUnit style. And also documenting API endpoints.
Golang has excellent support for xUnit style tests built in. If you don't mind writing your test cases using the native library then this post is not intended for you. You can still read ahead and figure out why BDD works.
All of the code from this series can be found in this repository. Let's get started.
#Stepping into the 'ginkgo' forest
Installing dependencies using glide.
  $ glide get github.com/onsi/ginkgo
  $ glide get github.com/onsi/gomega/...
To get the executable...
$ go get -u github.com/onsi/ginkgo/ginkgoGinkgo is a BDD style test framework. It integrates with Go's native testing package. You can run test using either go test or ginkgo's cli tool. Gomega offers an extensive set of assertions to be used along with ginkgo.
Now that we have installed everything lets bootstrap the framework to bind with native testing.
$ ginkgo bootstrapThis generates a file with projects name and following content.
#Yet_Another_Expense_Splitter_suite_test.go
package main_test

import (
  "testing"

  . "github.com/onsi/ginkgo"
  . "github.com/onsi/gomega"
)

func TestYetAnotherExpenseSplitter(t *testing.T) {
  RegisterFailHandler(Fail)
  RunSpecs(t, "YetAnotherExpenseSplitter Suite")
}
This file imports native testing package. It uses the convention of writing a TestXYZ function to bind the ginkgo framework. From this point on, you can write tests using ginkgo framework. You can rename the file to main_test.go as per golang conventions.
We can write BeforeSuite and AfterSuite hooks as follows.
#src/api/api_test.go
package api_test

import (
  "testing"

  api "github.com/algogrit/yaes-server/src/api"
  db "github.com/algogrit/yaes-server/src/config/db"
  . "github.com/onsi/ginkgo"
  . "github.com/onsi/gomega"
)

func TestAPI(t *testing.T) {
  RegisterFailHandler(Fail)
  RunSpecs(t, "API Suite")
}

var _ = BeforeSuite(func() {
  db.InitializeDB("test")
  api.InitializeRouter()
})

var _ = AfterSuite(func() {
  db.Instance().Close()
})#Writing our first test case
Ginkgo provides for various different ways of structuring your test cases. It provides you with the familiar Describe, Context and It blocks for writing the test cases, along with BeforeEach, AfterEach and a special JustBeforeEach hooks. And to top it all BeforeSuite and AfterSuite functions to setup the entire test harness.
$ ginkgo generate src/api/userReplace main_test with api_test in the generated file.
This test will check if the API endpoint GET /users returns 401 if no token is passed.
#src/api/user_test.go
package api_test

import (
  "net/http"
  "net/http/httptest"

  "github.com/algogrit/yaes-server/src/api"
  . "github.com/onsi/ginkgo"
  . "github.com/onsi/gomega"
)

var _ = Describe("User API", func() {
  Describe("GET /users", func() {
    Context("when the user is not logged in", func() {
      It("should fail with unauthorized code", func() {
        req, _ := http.NewRequest("GET", "/users", nil)
        response := httptest.NewRecorder()
        api.Instance().ServeHTTP(response, req)

        Expect(response.Code).To(Equal(http.StatusUnauthorized))
      })
    })
  })
})
We are using a httptest.NewRecorder to capture the response from the endpoint. We then use Gomega's matchers to write our assertion.
When we run this, we should get the following output.
$ GO_APP_ENV="test" go test -v ./...
?     github.com/algogrit/yaes-server  [no test files]
=== RUN   TestAPI
Running Suite: API Suite
========================
Random Seed: 1516479816
Will run 1 of 1 specs

[negroni] 2018-01-21T01:53:36+05:30 | 401 |    140.514µs |  | GET /users
•
Ran 1 of 1 Specs in 0.135 seconds
SUCCESS! -- 1 Passed | 0 Failed | 0 Pending | 0 Skipped --- PASS: TestAPI (0.14s)
PASS
ok    github.com/algogrit/yaes-server/src/api  0.175s
?     github.com/algogrit/yaes-server/src/config/db  [no test files]
?     github.com/algogrit/yaes-server/src/models [no test files]
The test case passes successfully. Now feel free to add more test cases and send in PR.
#Documenting API
Let's move on to our next big topic for today, writing API docs. A good API always contains documentation along with test cases.
To start adding docs to our API example, lets install swagger cli tool.
$ go get -v -u github.com/go-swagger/go-swagger/cmd/swaggerand run
$ swagger init specThis generates a API spec file named swagger.yml. You can refer to the API blueprint specification or swagger examples to see how to write your own API description.
Let's see how our API docs look like on the browser, run...
$ swagger serve swagger.yml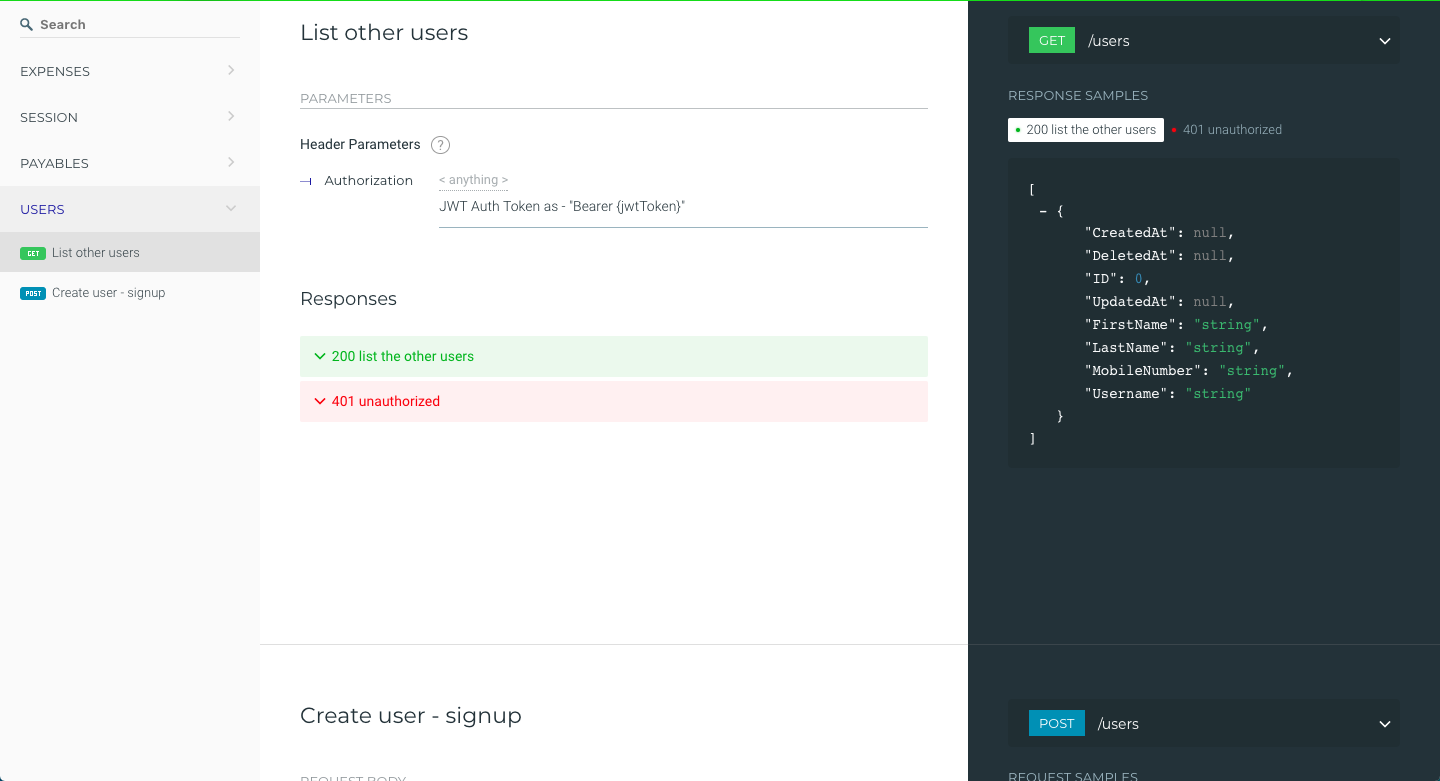
Oh also you can split the swagger.yml into multiple files.
#Honorable mentions
- Writing benchmarks - Instead of starting your
funcwithTest, you can write a benchmark, in your_test.gofile, usingBenchmark.
Signing off for now. As always, please leave your thoughts and comments in the section below.
Related Posts
Latest Posts
- A case for explicit mutabilityFar more programming languages promote implicit mutability as a feature (through assignment, of course) than necessary. For eg, let's take…Read More →
- An investigative walk-through of Go's channelsThis is a summary of a [talk][gopherconvietnam] I gave during Gophercon Vietnam & Gophercon India. If you have seen this talk already, you…Read More →
- Bash - n things you didn't know - Part IThis is a post I have been meaning to write for a long time now and have been procrastinating on it. These are quirks, lessons, learnings…Read More →
- Starting a new chapter...About a week back was my last day at Tarka Labs. So many people have asked me why I have left a wonderful organization, this post is to…Read More →
- There once lived a prince...There once lived a prince. He was born in fair riches, surrounded by servants and all the luxuries he could ask for. The prince, growing up…Read More →
- Setting up Flutter - Google's cross-platform native app development frameworkSince you are reading this post, I am guessing, you are probably familiar with [Flutter][fluttersite]. If not, Flutter is Google’s mobile…Read More →